Controlling the electrics – Controlando el sistema eléctrico

Hi!

So far I managed to make work the command parser for the instruments board.  What does that mean?  Now I can send commands and make the board do stuff by herself rather than only providing sensor information (which is very important as well).
As I showed you in previous posts, I was using 2 arduino boards as emulators, one for emulating the Nistune (which I still use), and the other, for emulating the instruments board with a LCD screen to change the signals provided to the software.
With that said, what I’m on now is developing the real instruments board code, which reads real signals and do things.
I already implemented all signal reading (this is fairly easy), and I’m coding the relay control.  I started with the headlight control.  On itself is not very useful, but in combination with some sensors, it will be used for controlling the lights in automatic mode, like any modern car, make blink the brake lights when a sudden braking is happening and enable the emergency lights in combination of this event.
So what you are going to see in this video is a panel where I’m testing those functions that will be automatic at the end.

Hola!
Hasta ahora he conseguido hacer funcionar el parseador de comandos para la placa de instrumentos.  Que significa esto?  Ahora puedo enviar comandos para hacer que la placa haga cosas, en vez de únicamente leer sensores (que es muy importante también).
Tal y como he mostrado en posts anteriores, usaba 2 placas arduino como emuladores, una para emular la Nistune, y otra para emular la placa de instrumentos con una pantalla LCD para cambiar las señales enviadas al software.
Con eso dicho, con lo que estoy ahora es desarrollando el código de la placa de instrumentos real, que lee señales reales y hace cosas.
Ya he implementado todas las lecturas de señales (eso es bastante fácil), y estoy programando el control de relés.  He empezado con el control de luces.  En sí mismo no es muy útil, pero en combinación con algunos sensores, será usado para controlar las luces automáticamente, como en cualquier coche moderno, hacer parpadear las luces de freno cuando se produzca un frenazo y activar las luces de emergencia en combinación a este evento.
Lo que váis a ver en este vídeo es un panel en el cual testeo esas funciones manualmente, que finalmente terminarán siendo automáticas.

Keep going!! Seguimos en ello!!

Good Afternoon!

After some days of hard work (at my real job), I have a whopping and juicy 4 days to give a push to the project.  Here in Catalonia is the “Diada”, is holyday, and as usual in spanish culture, we fill the gap to have what we call a “bridge”, kind of a long weekend.

Some days ago I was tinkering a bit with the electrics, at the end of the post there are some pictures and videos.

Some pictures and videos of what I have so far.

—-

Buenas tardes!

Después de algunos días de duro trabajo (en mi trabajo de verdad), tengo unos impresionantes 4 días por delante para darle un empujón al proyecto.  Aquí en Cataluña tenemos la Diada y he aprovechado para hacer puente.

Algunos días atrás estuve trasteando un poco con la electrónica, aquí dejo algunas fotos y vídeos de lo que hay de momento.
—-

This is the harness to connect the Arduino Mega and the relay boards
Este es el cableado entre la placa Arduino Mega y las placas de relés.

Here the testing with the Arduino connected
Aquí el testeo con el Arduino conectado.

Here I’m testing the optocoupler IC, just to not burn the Arduino with the 12v car signals.
Aquí estoy probando el integrado del optoacoplador, para no quemar el Arduino con los 12v del coche.


And there are 12 optocouplers all together, front and back.
Y ahí 12 optoacopladores juntos, desde delante y detrás.

Another screen, for the HUD – Otra pantalla, para el HUD

Hi!

It turns out that I was given that kind of that multimedia double din chinese radios to try fixing it, but it wasn’t possible to repair, so one day I was bored I decided to dissasemble it and recovered the TFT panel, looking on the internet I found on eBay a seller that supplied the part for exactly this model of panel with a VGA input at 23€ with free shipping (lol), I ordered it and yesterday it arrived.

This is a first test:

I thought that it could be interesting using it to make a Head Up Display following the indications that this chap kindly shared with all us:

http://bwongtech.blogspot.com.es/2013/02/how-to-build-hud-for-your-car.html

Cheers!!

——————————————–

Buenas!!

Resulta que me dieron una radio multimedia de esas chinas doble din para intentar repararla, pero no tenía arreglo posible, así que un día que me aburría me decidí a desmontarla y recuperé el panel TFT, resulta que buscando por eBay encontré un vendedor que me suministraba una placa para exactamente ese modelo de panel y con entrada VGA por 23 euros con portes gratis (xD), la pedí y me llegó ayer.

Esta es la prueba de funcionamiento:

He pensado que puede ser interesante usarla para fabricar un Head up Display según las indicaciones que aquí este amigo ha compartido amablemente:

http://bwongtech.blogspot.com.es/2013/02/how-to-build-hud-for-your-car.html

Saludos!!!!!

First approach of the project

Hi, it’s Raul again.

I just wanted to share some progress about the project I’m developing for modernizing the electrics of the car, there you have some videos showing it, sorry if they are not professional, they are just taken in my home desk with a cellphone 🙂

The project is based on a Nistune Board Type 1 as interface to connect to the old CA18DET ECU, because is pretty flexible, rather easy to install, just some soldering and a bit of handwork and doesn’t need to rewire anything in the car, so you can avoid tinker with the main engine electrics.

For the signals the ECU is not processing I’m about to use an Arduino Mega board, because it has lots of inputs and outputs, so with it I can read all the analogic signals and control 2 relays board all in 1 board.

To connect to the arduino and the Nistune board I treat them as virtual serial ports, which from the point of view of development they are just like old fashioned RS232 ports.

This management I do from a backend developed in nodejs, that gets the data feed from the usb’s and forward it through a socket connection to the user interface, made in Adobe Air (Flash for desktop).

Here is a Google Drive document where I write the ideas I’m having to implement, sorry because is the only part of the project which is not available in English, but because this is just a tool to keep my ideas in order is better if I keep it in my mother tongue. But anyway you can use Google Translate if you want to have a look.

https://docs.google.com/document/d/1AwZX-mdnj1IHeq1DAOo_CM5cwZHnmjrlkdxRdrDBens/edit


————

Buenas! Raúl otra vez.

Sólo quería compartir algo del progreso del proyecto que estoy desarrollando para modernizar el sistema eléctrico del coche, ahí tenéis algunos videos mostrandolo, disculpad si no son profesionales, están tomados en el escritorio de mi casa con el teléfono móvil.

El proyecto está basado en una placa Nistune Type 1 como interfaz de conexión a la vieja ECU del CA18DET, porque es muy flexible, relativamente fácil de instalar, sólo un poco de soldadura y un poco de bricolaje y no necesita recablear nada en el coche, así que podéis evitar trastear con el sistema eléctrico del motor.

Para las señales que la ECU no procesa, usaré una placa Arduino Mega, porque tiene un montón de entradas y salidas, asi que puedo leer todas las señales analógicas y controlar las dos placas de relés, todo desde una única placa.

Para conectar al arduino y la Nistune los trato como puertos de serie virtual, que desde el punto de vista del desarrollo son como los puertos RS232 de toda la vida.

Esa gestión la hago desde un backend desarrollado en nodejs, que recoge los datos de los puertos usb y lo reenvía a través de una conexión de socket al interfaz de usuario, hecho en Adobe Air (Flash para escritorio).

Aquí un enlace a un documento google drive donde voy poniendo las cosas que se me van ocurriendo para añadir al proyecto.  

https://docs.google.com/document/d/1AwZX-mdnj1IHeq1DAOo_CM5cwZHnmjrlkdxRdrDBens/edit 

Saludos!! 

My story and a bit of background. – Mi historia y un poco de antecedentes

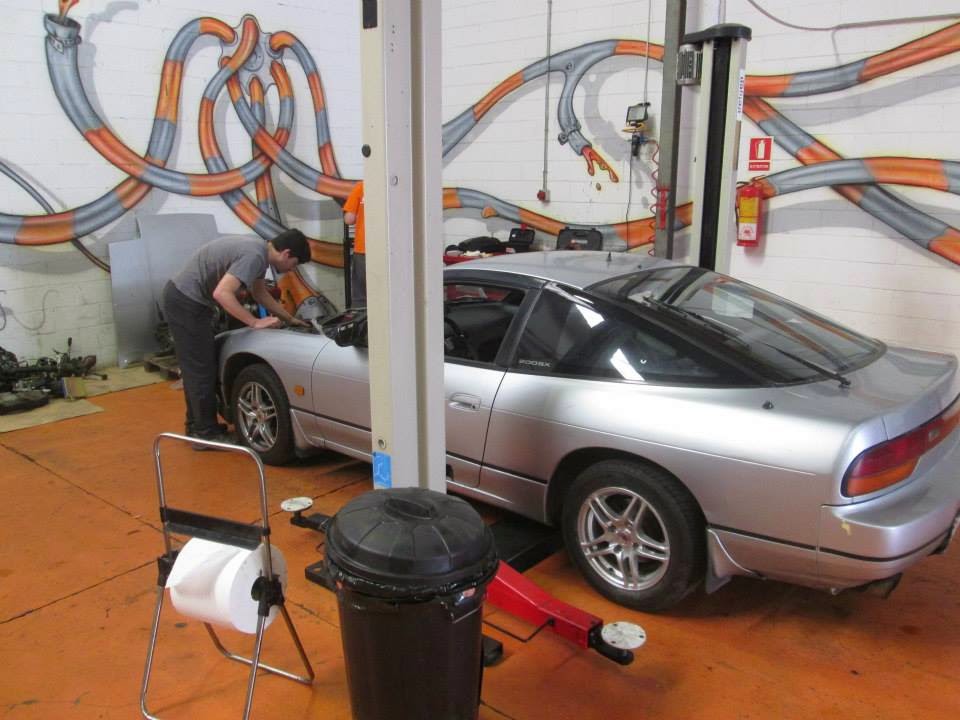
As all 200sx enthusiasts know, there are no mint and affordable 200sx’s so far, they are crap or highly modded by someother wich criteria maybe you won’t share.  So what I did is go for a crap cheap one and get it right.

I have to say, I’m not a mechanic and my knowledge about that is limited, but I’m learning it 🙂

First I did to the car is all the basics to get it running legaly, because it was long time stopped, so it meant tires, suspension, fixing of direction lights, and all this stuff.

After the car was running sort of fine, I noticed the engine was doing a slight knock, that became a bit stronger as the time was passing, maybe bearings within rods and crankshaft? CA18DET mostly dies there.

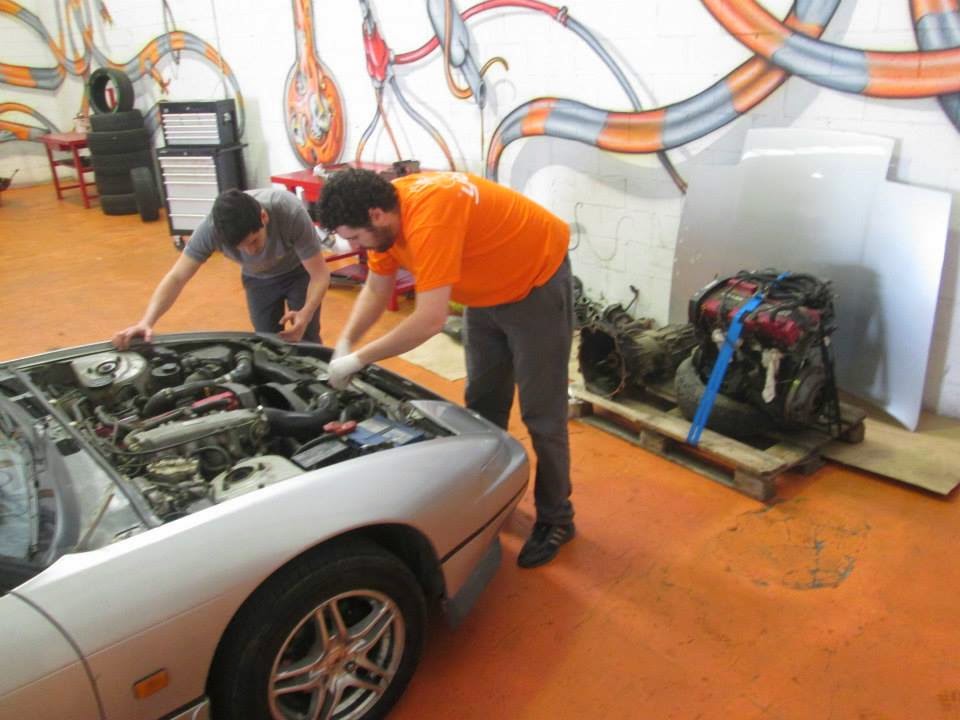
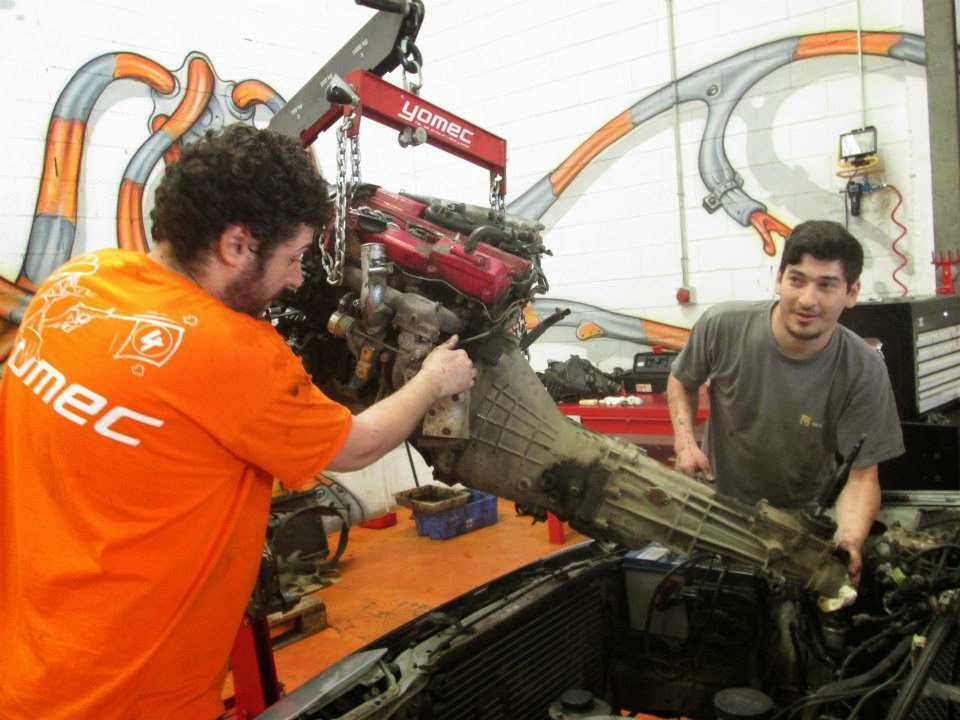
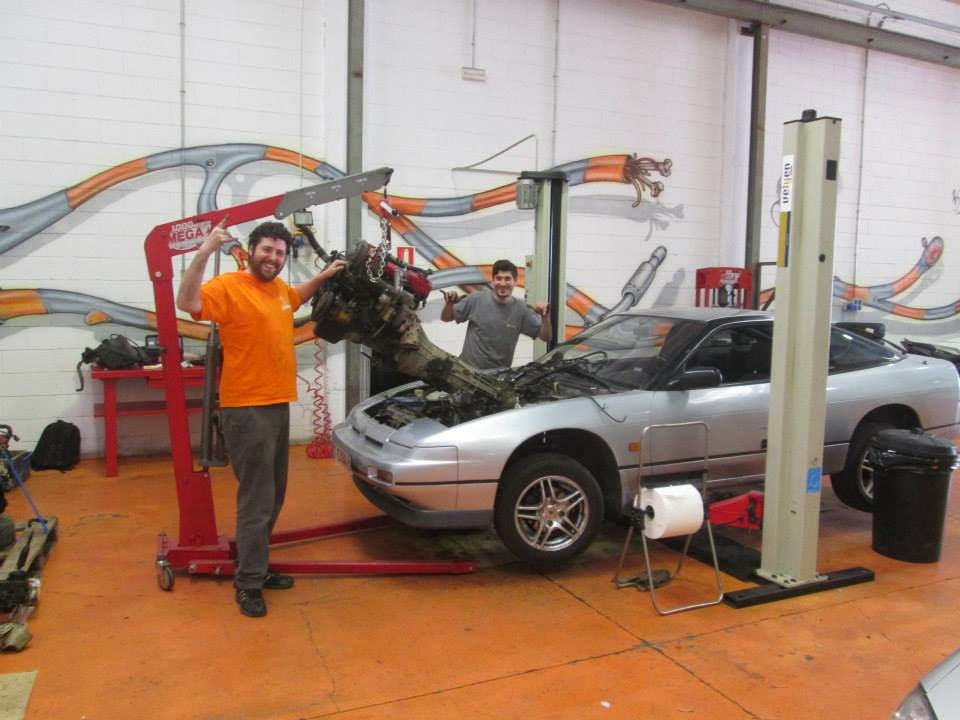
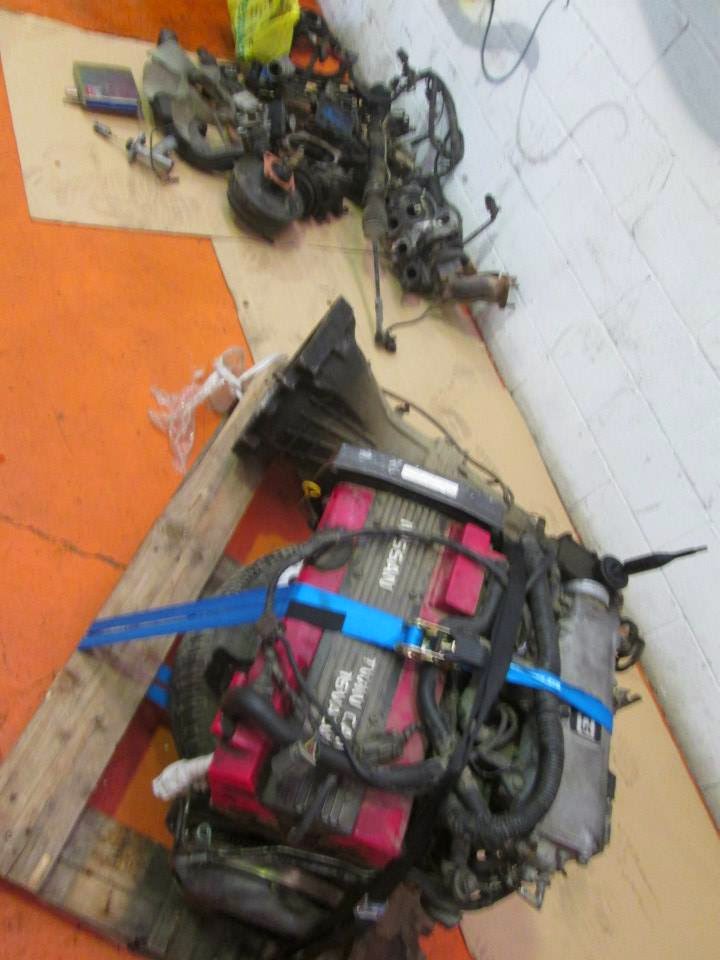
Fortunatelly I found a guy who sold me a 6 years ago crashed 200sx with a rebuilt engine just 10.000 km ago very cheap.  So I began an engine change, the same model, but still quite a job if you are not an experienced mechanic.

To get a better chance of diagnostics while doing this process, I decided to purchase a Nistune Board + Software, provided that one year ago Matt Brown kindly told me that having the tech specs for further software development wasn’t going to be a problem.

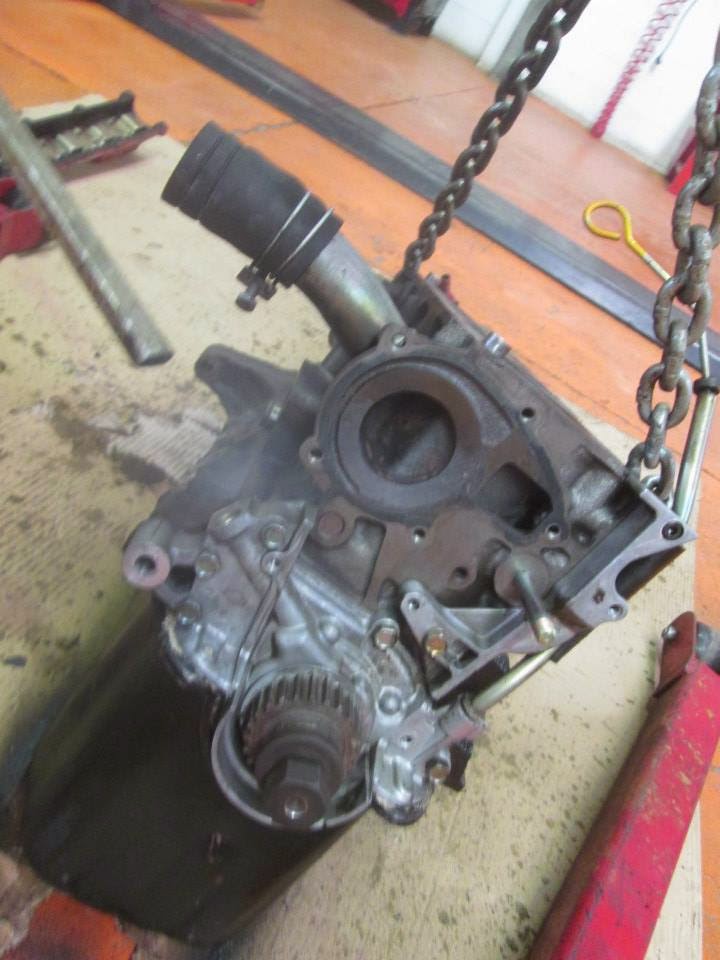
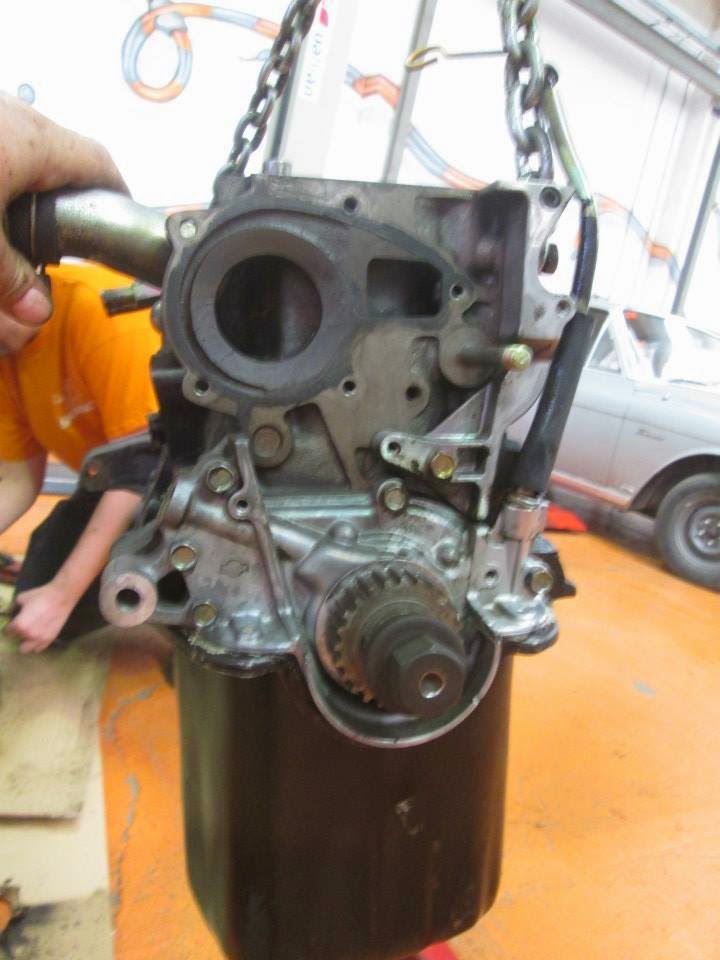
So I installed the Nistune Board and I decided to start the engine change.

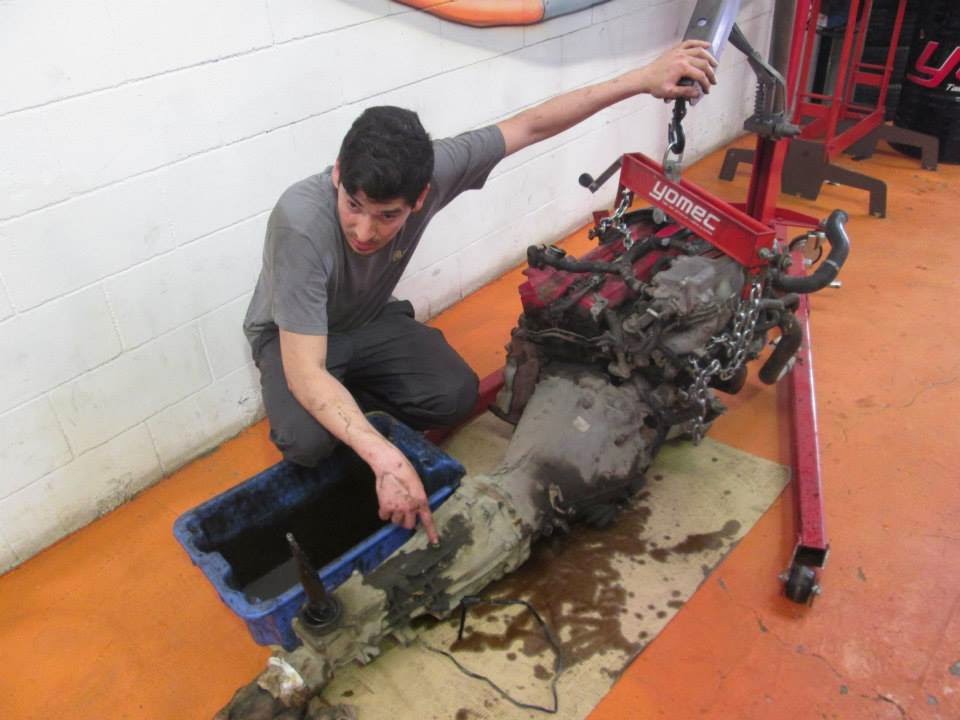
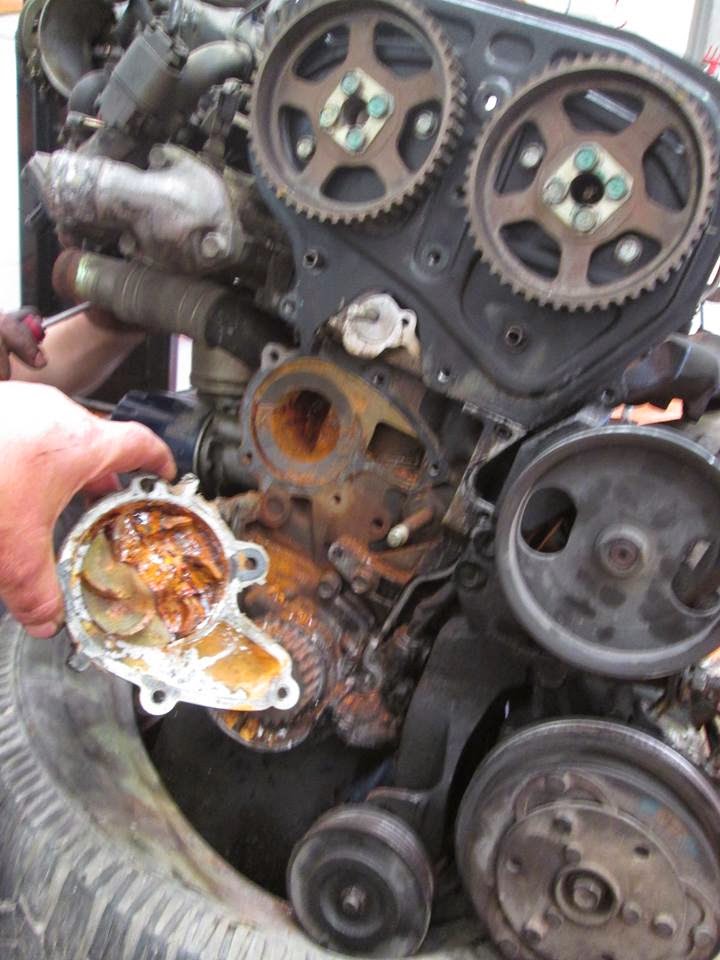
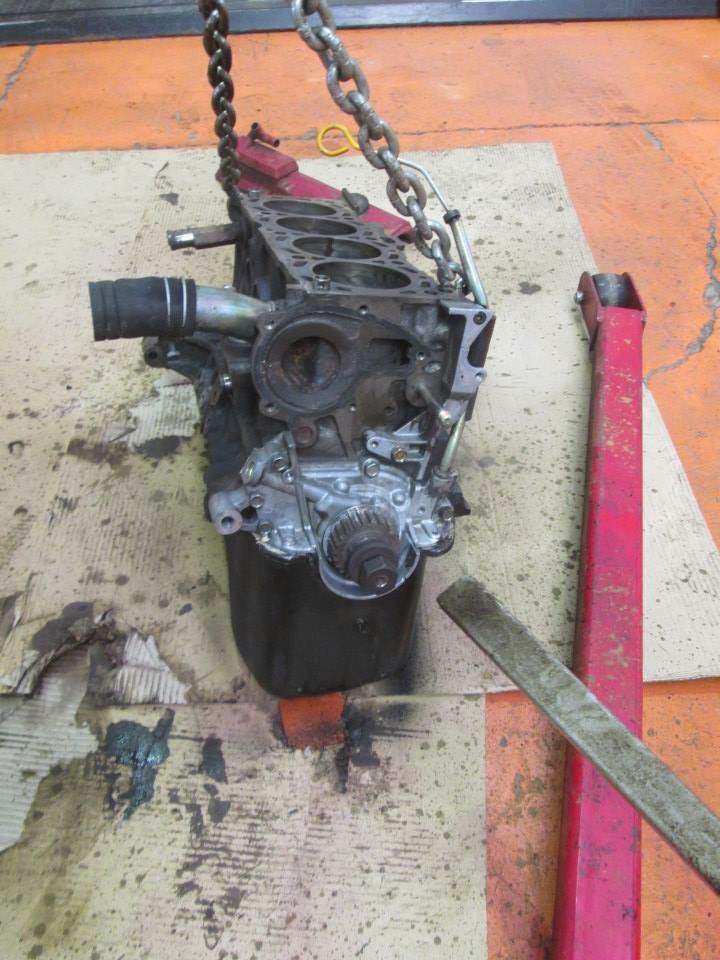
Because that car was beside the sea and the coolant circuit wasn’t bleeded properly, it had rust in the waterpump and therefore it was stuck.  

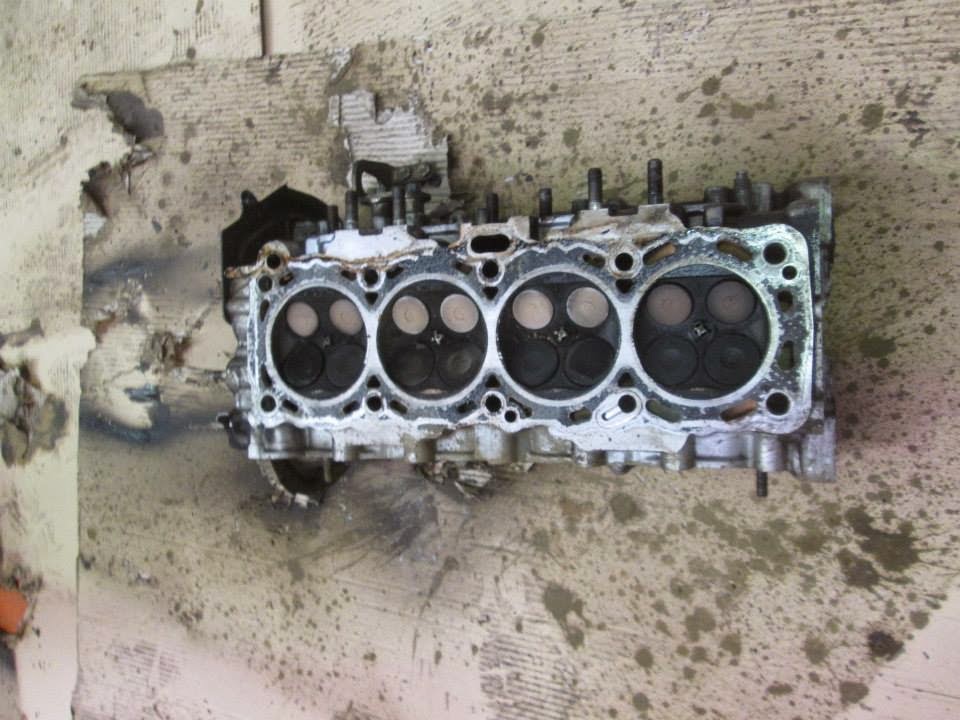
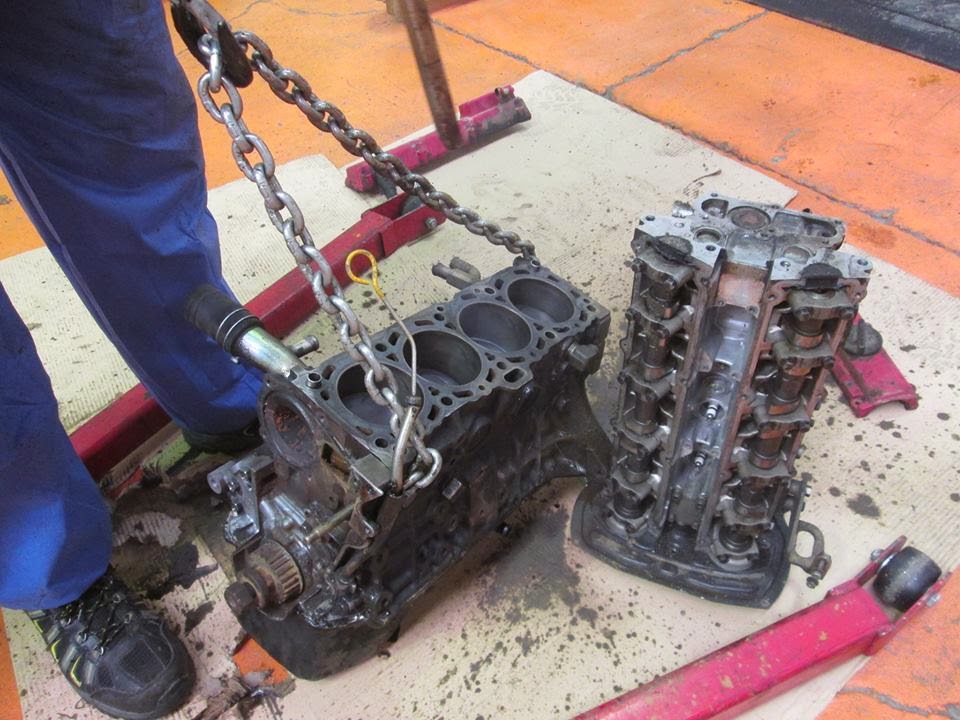
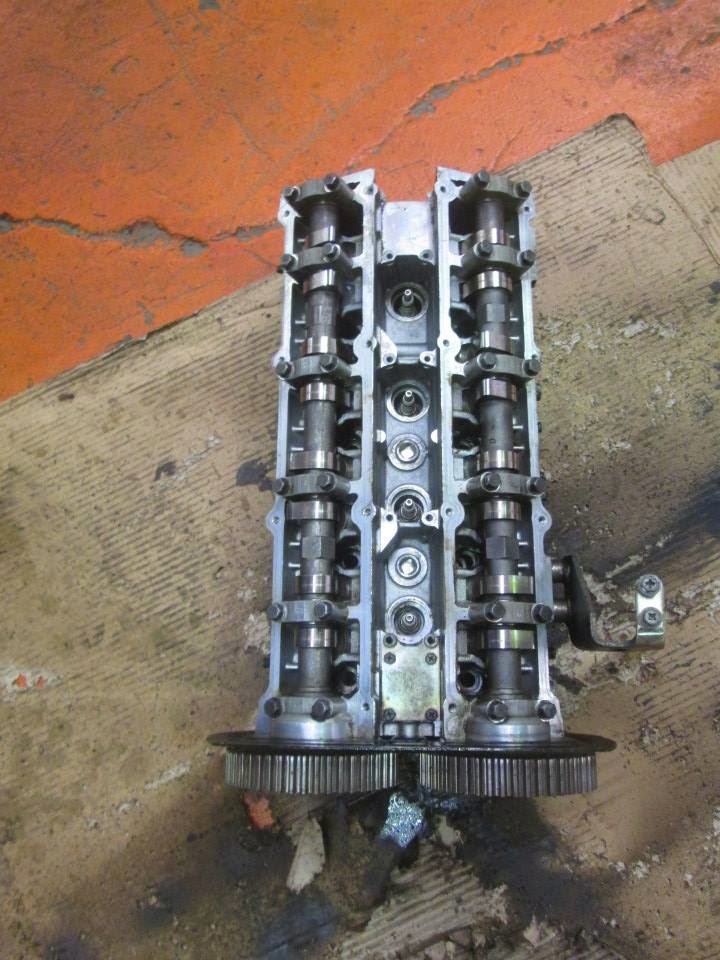
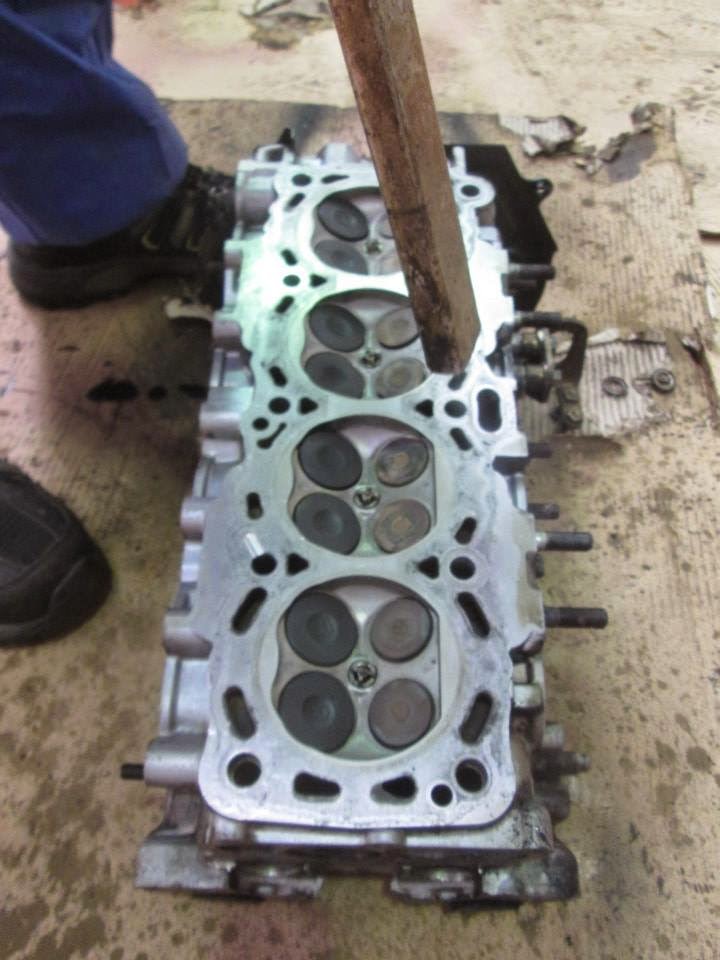
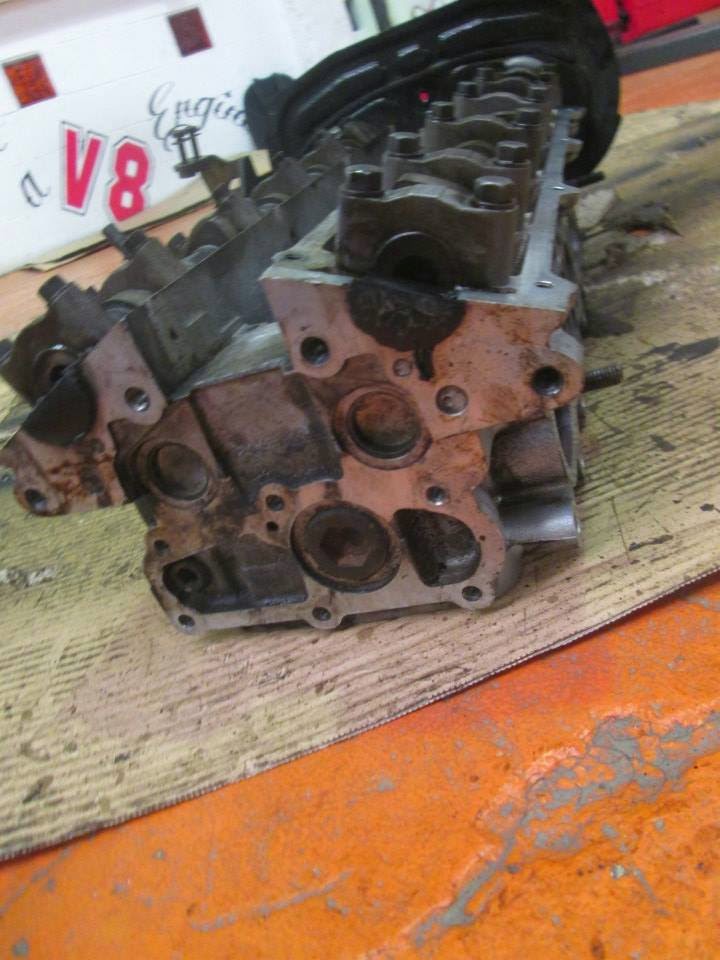
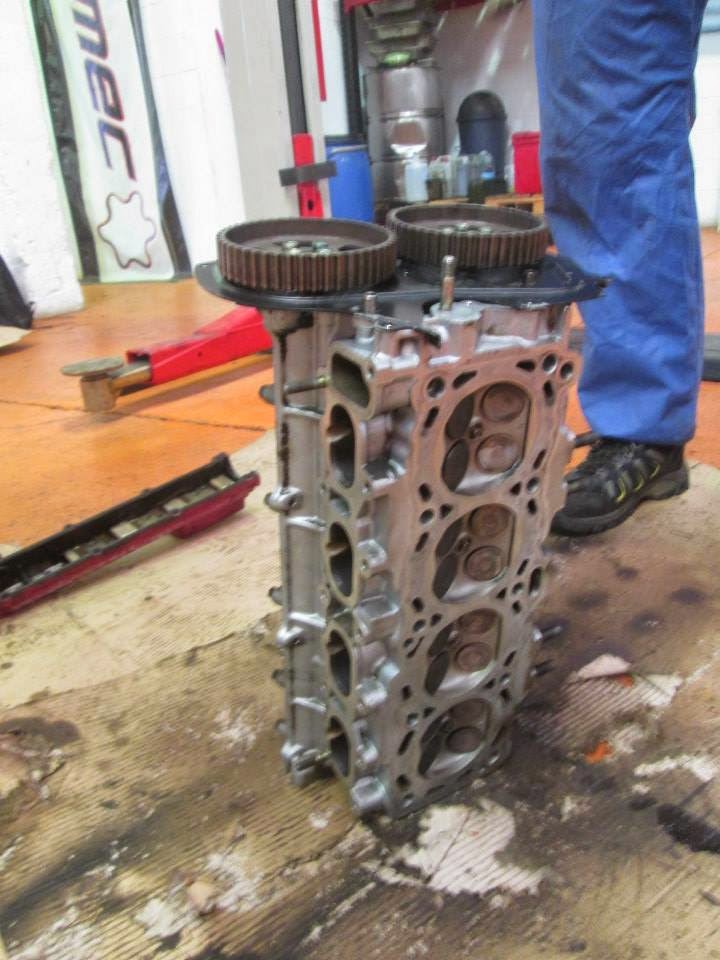
To be sure nothing else was damaged, we took of the cylinder head to have a look, it looked fine, but some dirtiness as is normal.  So I hired a man who cleaned all the engine inside and outside with iced carbon dioxide shooted at 13bars, strong enough to rip out the dirtiness (and flesh), but gentle with the metals.

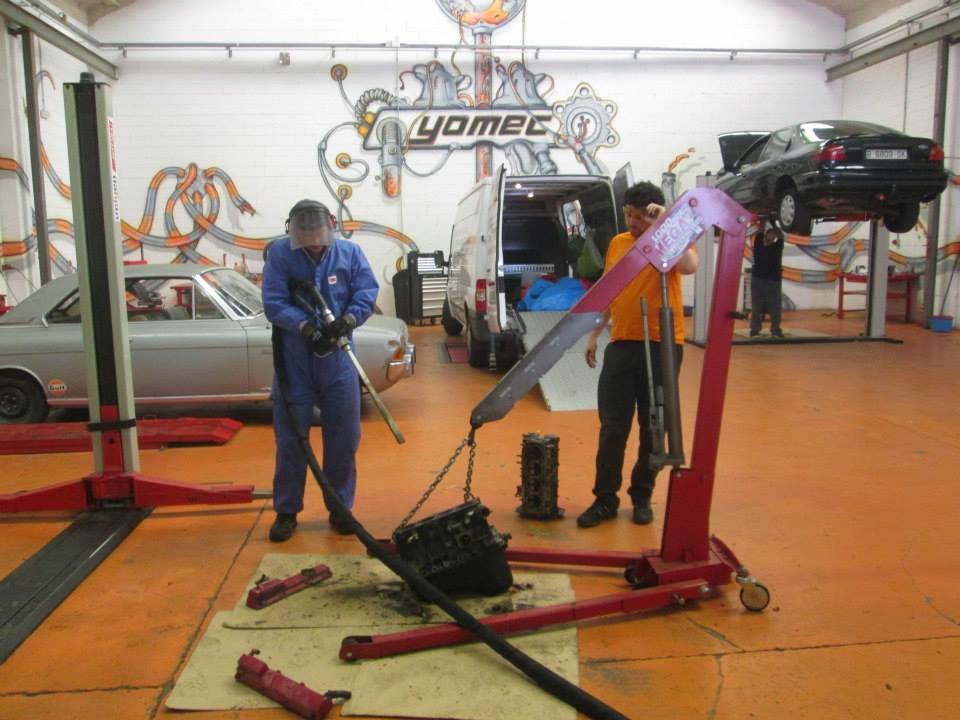
I also removed the carter to check the rods, and everything was fine.

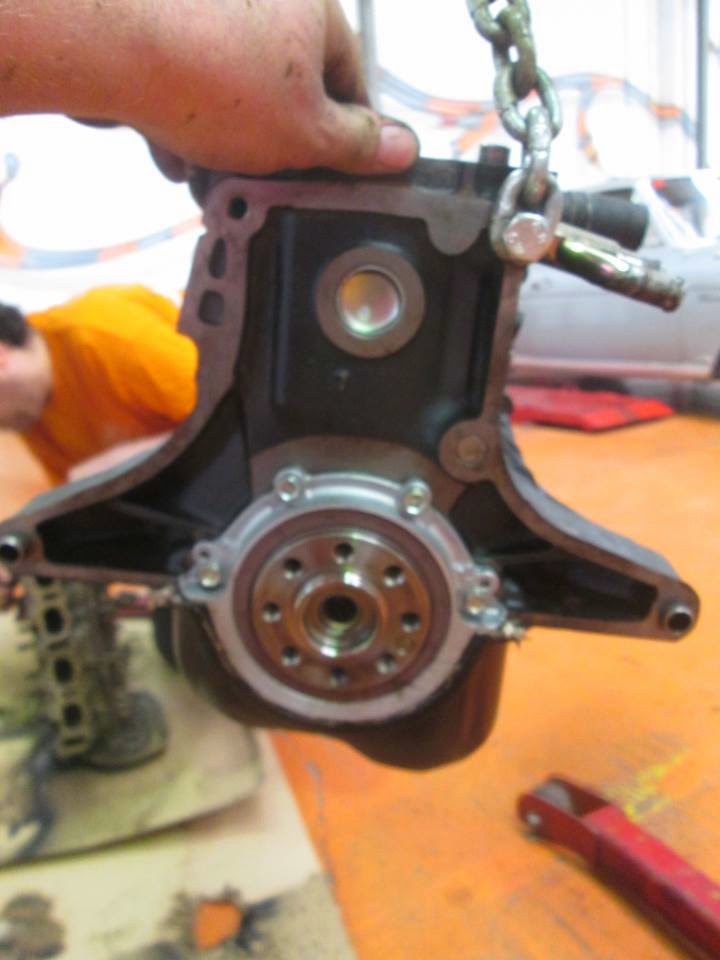
Every single part we were removing was cleaned carefully, with carbon dioxide or with gasoline.

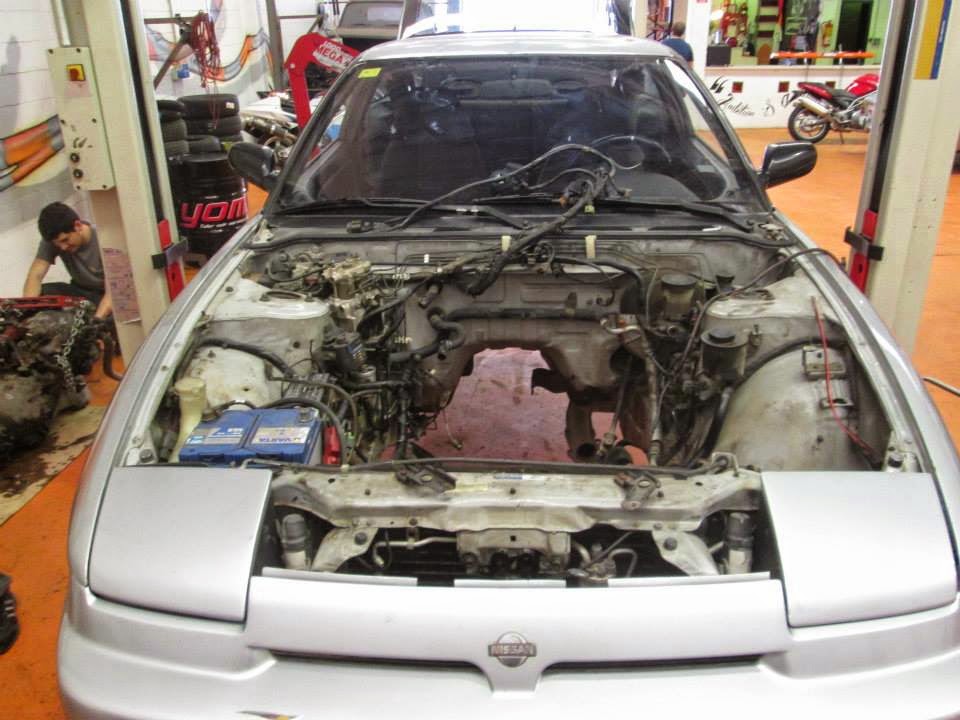
All the critical stuff was done with extreme caution, and it went right, all the non critical stuff… it went all wrong, most of the donor car accesories were in bad condition due to the time stopped, so I had to do a mix.  Just time, a bit of anoyment (yet fun), and a lot of learnings for the bag.

And finally the engine was in place, and running beautifully, with perfect compression in all 4 cylinders and with a nice below while whomping.

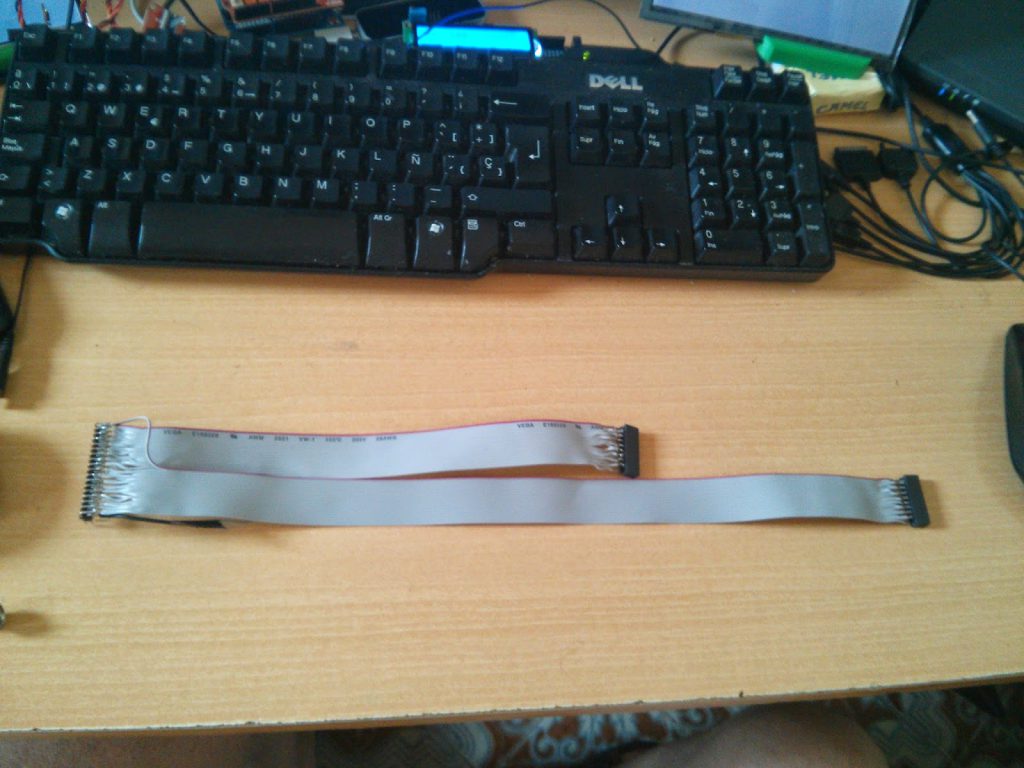
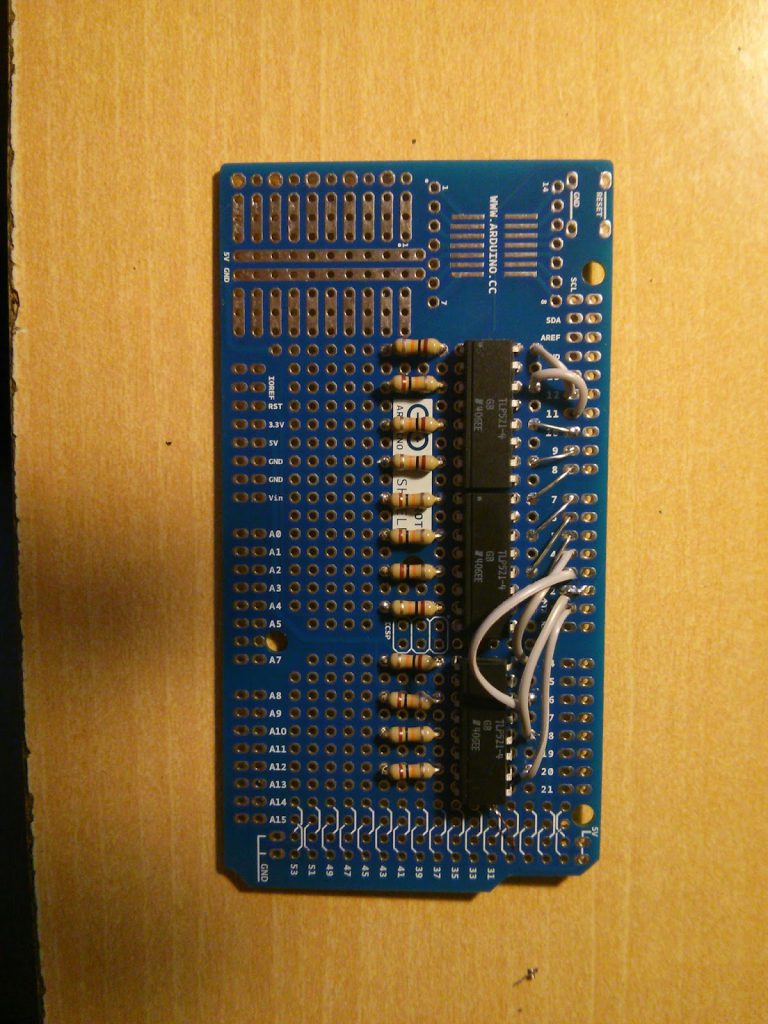
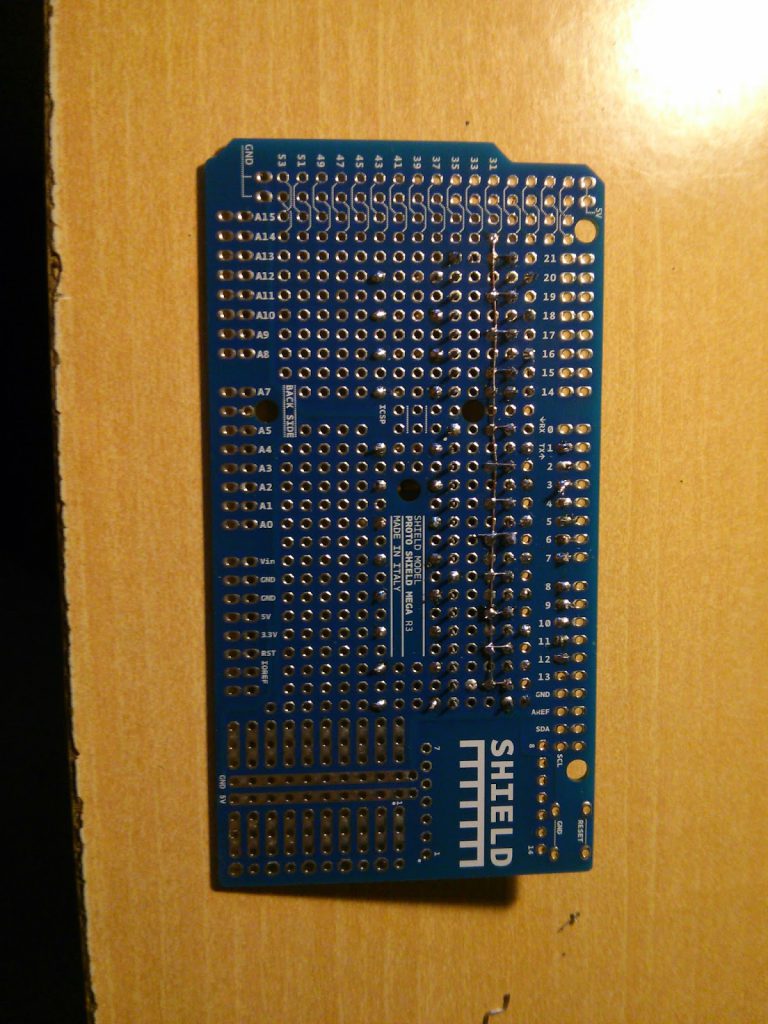
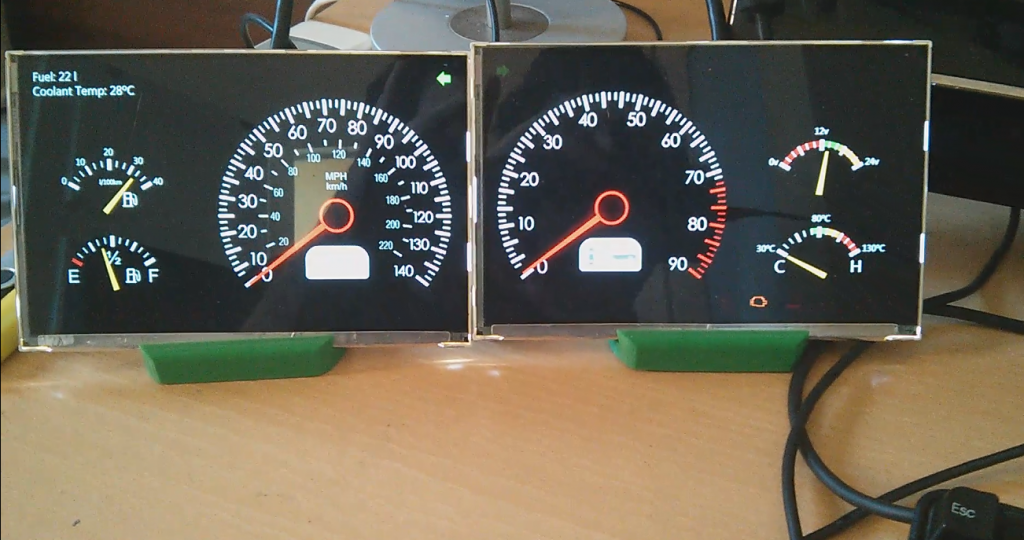
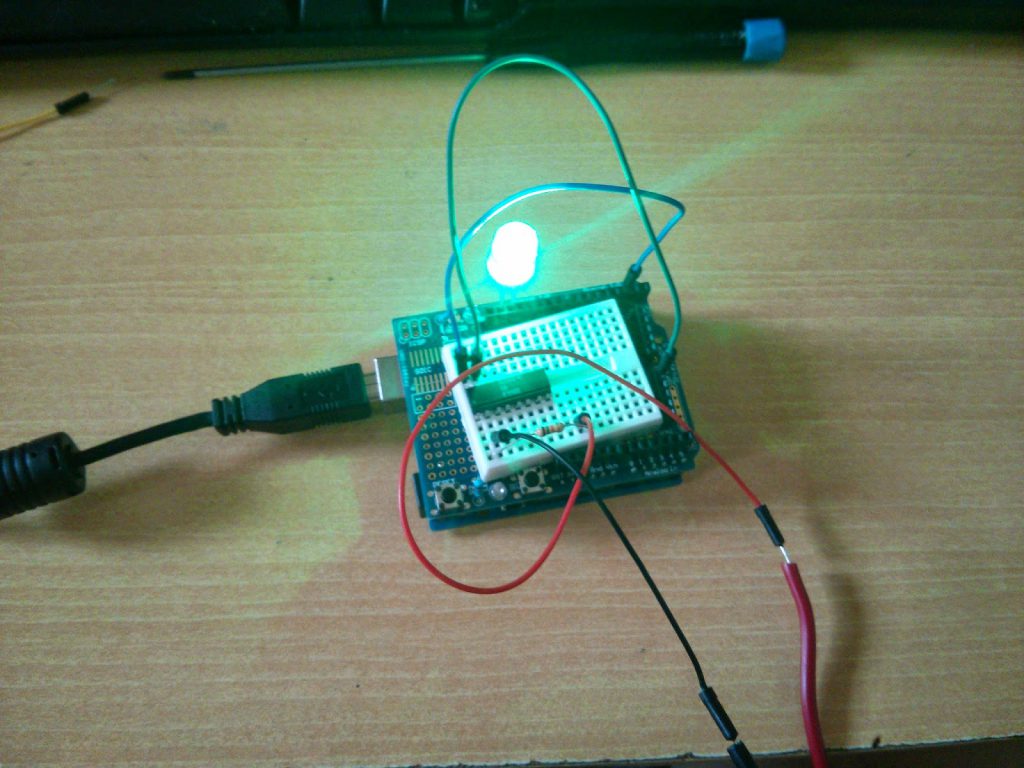
Which takes me to the point I wanted to get to, the technology project I’m about to share.

Watch for the pictures at the end of this post.

Thanks for reading!!.
———————-

Como todos los entusiastas del 200sx sabéis, no hay ninguno impecable y barato, o son basura, o están tremendamente modificados por alguien con el cuál no compartís demasiado su criterio.  Así que lo que yo hice es coger uno barato y ponerlo a punto.

Lo primero que le hice al coche es todo lo básico para que pudiese circular legalmente, ya que estuvo mucho tiempo parado, lo que significa neumáticos, suspensión, arreglos en los intermitentes y todo ese tipo de cosas.

Cuando el coche estuvo más o menos “bien”, me dí cuenta de un golpeteo muy sutil que provenía del motor que poco a poco se fue incrementando, quizás casquillos de biela? La mayoría de los CA18DET mueren por ahí :S.

Afortunadamente, conocí a un chico que me vendió un 200sx estrellado 6 años antes y que guardaba en su garaje, ya que tenía el motor reconstruído con sólo 10.000km, así que  comencé con un cambio de motor, el mismo modelo, pero aún así bastante trabajo si no eres un mecánico con experiencia.

Para tener una mejor oportunidad de diagnosticar mientras estaba haciendo este proceso, decidí comprar una placa Nistune con su software, ya que Matt Brown tuvo a bien de facilitarme las especificaciones técnicas, para poder desarrollar yo software con la placa posteriormente.

Así que instalé la placa nistune y decidí empezar con el cambio de motor.

Debido a que el coche donante estaba en un subterráneo a 200 metros del mar y el circuito del refrigerante no se había drenado adecuadamente, la bomba del agua estaba clavada y llena de oxido.

Para estar seguros que nada más estaba dañado, levantamos la culata, estaba todo bien en apariencia, pero tenía carbonilla, como es normal.  Así que contraté a un señor con una máquina de limpieza con hielo seco a 13 bares de presión, suficiente para sacar la suciedad (y arrancar la carne), pero muy benévolo con los metales.

También quité el cárter para comprobar las bielas, todo estaba bien.

Todo lo que se desarmó fue limpiado con cuidado, bien con hielo seco a presión, o bien con gasolina.

La parte crítica se hizo con extrema precaución, y fue bien, la parte no-crítica… Todo fue mal, casi todos los accesorios del coche donante estaban mal, así que tuve que hacer un poco de mezcla.  Sólo tiempo y un poco de molestia (aunque divertida), y un montón de lecciones aprendidas 🙂

Y finalmente el motor estuvo en su sitio, corriendo estupendamente, con compresión perfecta en los 4 cilindros y con un rugido estupendo mientras empujaba.

Lo que me lleva al punto que quería llegar, el proyecto de tecnología que voy a compartir.

Gracias por leer!! 🙂

First post!! – Primer post!!!

Hello!!

This is Raúl and I’m quite happy to share with you this first post for what is going to be the blog of this project.

Briefly explained, I’m rebuilding the electrics of the car to give it a modern a second life, I think is a quite appealing car, well engineered and it gives you tons of fun driving it.  It was my first car when I was 21, it was stolen to me by some bastards, but after the time, I bought another one to do what I had in mind for years.

Of course at day today, the available techology is better and cheaper than 13 years ago, so I think it is time to get hands on.

As far as I’m done with the first stage of the project, I’m going to share all the source code, materials and dealers that will provide all the necessary stuff in a secure and cheap way.

Hola!!!

Me llamo Raúl y me alegra compartir con vosotros el primer post de lo que va a ser el blog de este proyecto.

En pocas palabras, estoy reconstruyendo el sistema eléctrico del coche para darle una segunda vida moderna, creo que es un coche muy atractivo, bien construido y enormemente divertido de conducir.  Fue mi primer coche con 21 años, que unos bastardos me robaron, pero después de los años, me he comprado otro para hacer lo que tenía en mente desde hacía años.

Por supuesto, a día de hoy, la tecnología disponible es mejor y más barata que hace 13 años, así que he pensado que es momento de ponerse manos a la obra.

Tan pronto como termine con la primera fase de este proyecto, compartiré todo el código fuente, materiales y proveedores que os venderán todo lo que necesitáis de un modo barato y confiable.